 |
; |
Practically hot on the heels of my most successful and confidence-building foray into the world of projection screen assemblies with the Draper Cinefold HD Gray Screen, comes yet another offering by the fine folks at Draper – this time it’s the 106-inch, HD, fixed projection screen dubbed Onyx. While it proved to be a sometimes testy proposition during assembly, rest assured, when all was said and done, it was well worth breaking a few sweats here and there. PACKAGING & APPEARANCE
|
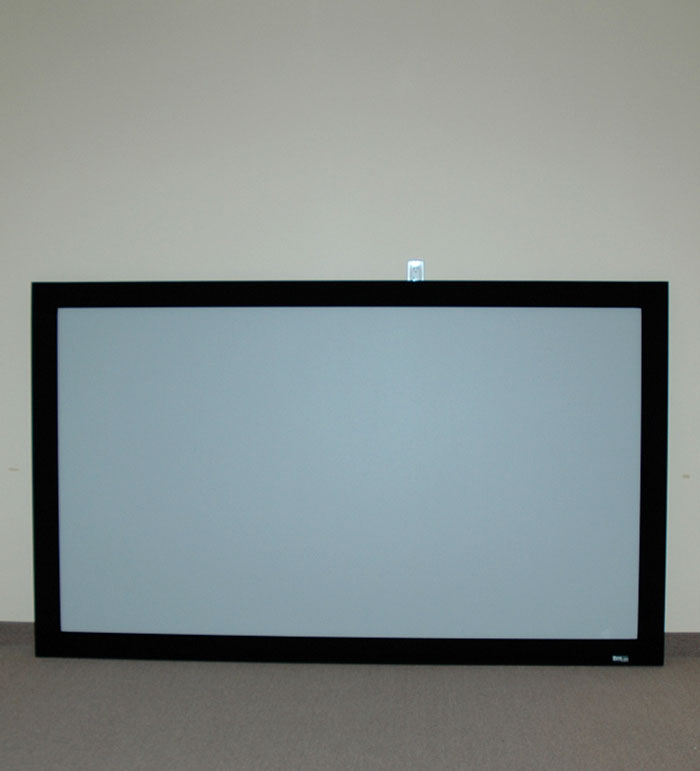
| The first thing you’ll notice about the Onyx high-def projection screen is just how well packaged it is. While the box isn’t insanely heavy by any stretch of the imagination, it is insanely long (about eight-and-a-half feet ), due in no small part to the horizontal frames and the horizontal screen hinges which measure in at approximately seven-feet five inches and seven-feet six inches respectively. After you’ve noted the extreme box length, the second thing you may notice is the 70’s-style throw-back, velvety-smooth material (known as Veltex) which acts as the frame finish (black in color), whose bezels run approximately four inches in length. This is an extra finishing option that will cost you a bit more than the standard black aluminum finish it comes with, but in my humble opinion, it’s well worth it, as I’ll as I’ll touch on further down. Perhaps an inch or two slimmer on the bezel width would’ve been better, but in the universe of projection screens, coupled with that groovy and ultra-stylish Veltex finish, this is really just a minor quibble barely worth mentioning. And when you’re dealing with screens measuring in at 100-plus inches, you can’t really say that the bezels are taking away from your viewing experience. An obvious plus with respect to the packaging is not having to contend with a multitude of major pieces that need connecting and/or assembling. The Onyx HD projection screen keeps the proceedings simple and logical, with major pieces limited to what you can count on two hands. Let’s now move on to part one of the Onyx 106-inch home theater projection screen assembly. | 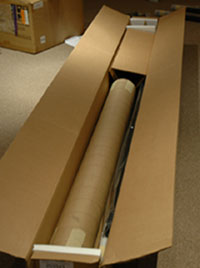 |
ASSEMBLY
In the interests of not boring you with every last minutia of detail undertaken during the assembly of the Onyx HD projection screen, I'll instead highlight the key points during the four major phases that were involved.
Part One – Frame Preparation
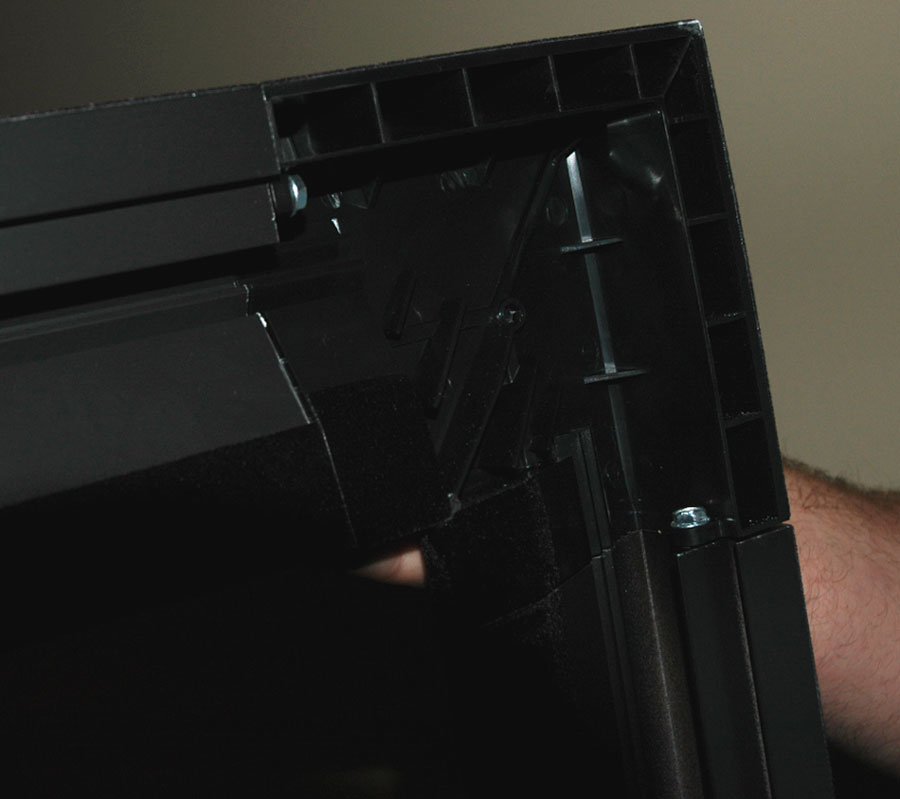 |
The very first step is attaching the four frame corners to the horizontal and vertical frames. This takes a few seconds, and requires only a little bit of force to make sure everything is secure and as close together as possible. Once this is done, insert and screw in the included fasteners between the frame corners and the frames for added security and hold. So far, so easy. |
Part Two – Screen Preparation
| There are two parts to prepping the screen. The first is inserting the vertical and horizontal rods into the pocket openings on the outer edges of the screen. The vertical insertions are a piece of cake, literally taking seconds to do. The longer, horizontal rods will take up a little more of your time, so it might be a good idea to grease them up with some soap to avoid the slide-in friction that you may encounter. | 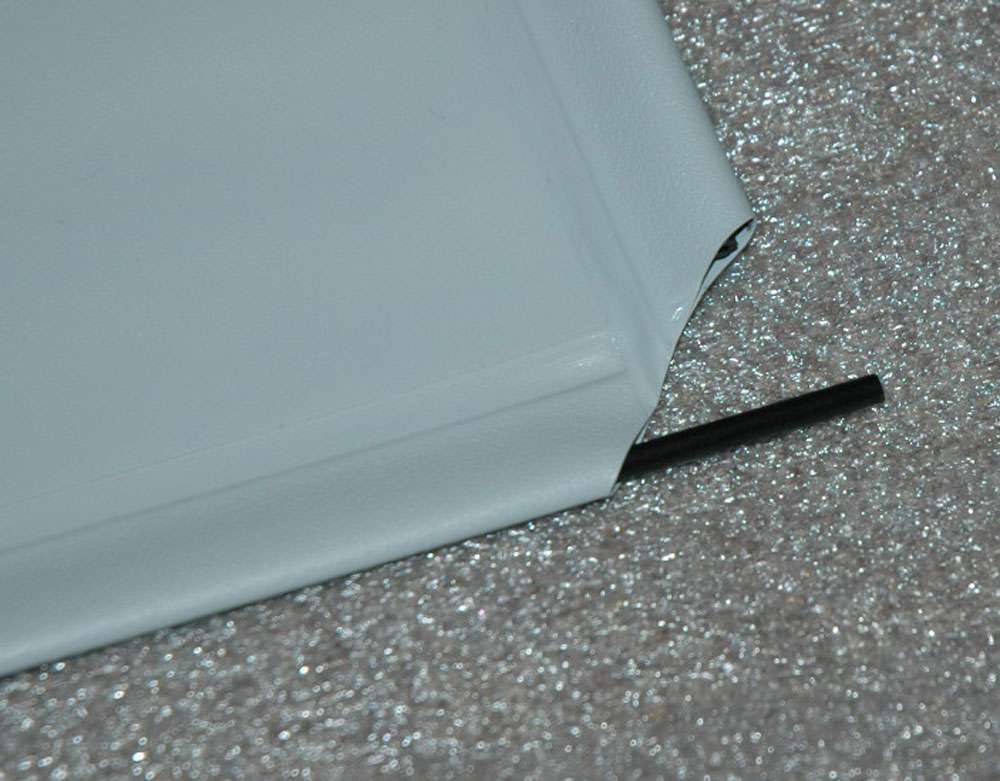 |
 |
This second part to the screen preparation calls for us to slide the screen into the two horizontal and two vertical frame hinges, which then ultimately connect to the actual Veltex frame. This was accomplished with relative ease, but just make sure you set it up in a room temporarily cleared of unnecessary clutter so that you don’t run into rods and/or frame hinges hitting or brushing up against walls and such during assembly. |
Part Three – Screen to Frame Assembly
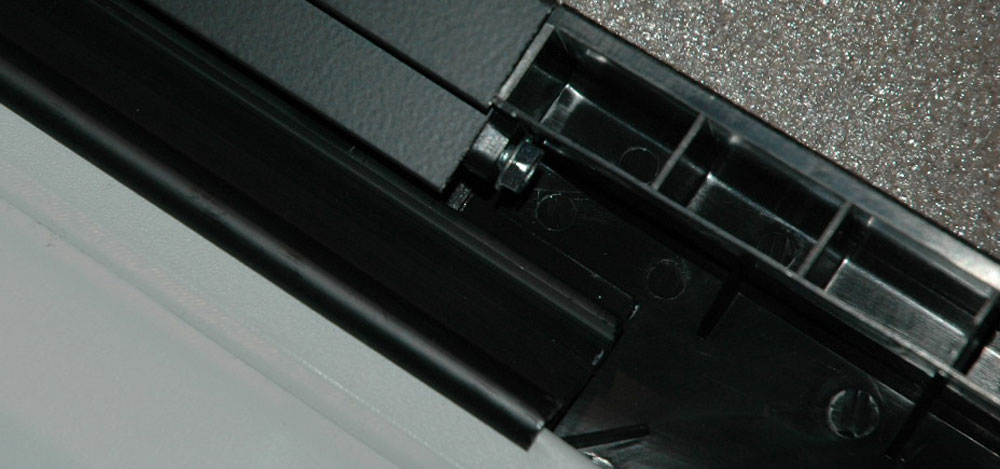
With screen and frame now prepared separately, it was now time for them to meet. Unlike many projection screens, the Onyx by Draper is designed so that you don't need snaps or tools. Instead, it features specially designed edges (Draper calls them “slipfits”), where each corresponding component latches onto these edges and remains in place. It has three levels of tension (slipfits) to satisfy all needs. Be patient during this part of the assembly and make sure you have a helping hand as it can take a little getting used to. Once you get it done though, you'll be rewarded with a super-tight, super-smooth, and wrinkle-free screen surface.
 |
Part Four – Mounting Screen To Wall
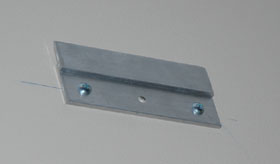 |
When it comes to mounting your projection screen, the first thing you need to establish is where, and at what height you want to mount your screen. We opted for 30 inches (two-and-half feet) from the floor, and depending on personal preference and the dimensions of your room, maybe you will, too. Now as mentioned prior, the Onyx high-definition projection screen by Draper is of the fixed, mounting variety. While they do provide you with the two required mounting Z-brackets, Draper does not provide the screws/bolts. In our case, we used NO. 8 drywall drilling anchors. While the brackets can accommodate three screws, we were able to get everything more then secure by using only two per bracket as the screen itself is quite lightweight (as far as projection screens go), tipping the scales at about 37 pounds (16.8 kgs.). |
A brief note as I conclude the section on assembly: as per the Draper website, they indicate that the Onyx HD Gray Screen can be set up in about 10 to 15 minutes. That's a fairly optimistic guesstimate (it took us a little over an hour), so I'd advise setting aside a little more time than that for assembly
 |
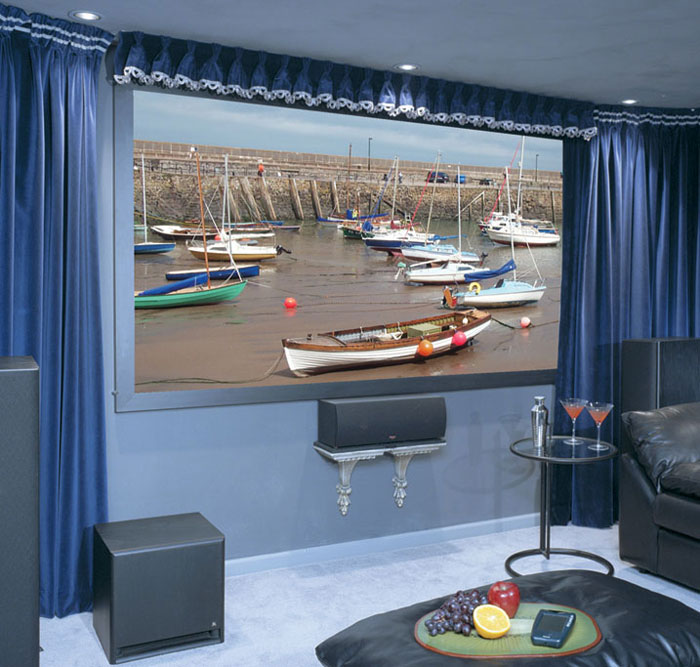
PERFORMANCE
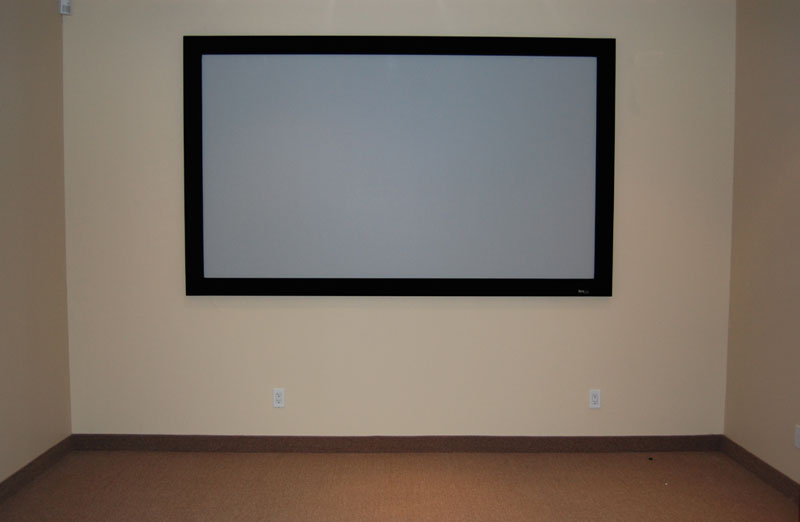
Okay, so now that we’ve gotten all that labor-intensive work out of the way, it’s now time to sit back, relax, and enjoy the Onyx HD projection screen in all of its 106-inch glory.
One thing you may notice – or not – is that in addition to providing a real nice look to the screen, the Veltex framing material also acts as a mask of sorts, virtually absorbing all of the light from the projector if you happen to be spraying your image a little off target. When we first tried out the projection screen, we were a bit off to the right-hand side, and if not for the sharp, eagle eyes of someone in our office, we wouldn’t have even known. While it’s, of course, always best to have your image properly projected on screen, it’s kind of comforting to know that the Veltex material does afford you a little slack if you just so happen to be slightly off the mark.
For testing, we used a PS3 for high-def, Blu-ray playback (BBC’s Planet Earth), via a 1080P HDMI connection with the Epson 1080 home theater LCD projector. Needless to say, the image looked large and in charge, and the only things missing that kept it from being an authentic movie theater experience was the extra-buttered popcorn, the mega-gallon serving of over-caffeinated pop, the sticky floors, and those annoying teenagers with their cell phone texting sounds during the film. But I digress…
 |
One interesting thing I observed – and then confirmed via video input signal testing – was how the Onyx projection screen’s fabric was able to enhance and make the black levels even blacker. Measurements taken showed black levels as per a 15 IRE output to be almost 66 percent darker. That’s huge. Needless to say, both contrast and subtle details - particularly during the darker segments of Planet Earth improved dramatically. I was now able to notice all the tiny little things I’d missed on prior viewings. What once seemed like nothing more than patches of dark, uniform nothingness, were now more clearly defined images and figures of all interesting shapes and sizes.
FINAL THOUGHTS
As a trusted name in home theater and business projection screens, the Onyx by Draper proves to be another winning offering that looks good, and performs better. It’s one thing to buy a top-of-the-line video projector, but the only way to really maximize and get the most out of your home theater experience is by having the image projected in the best light possible. The Onyx HD fixed and mounted 106-inch projection screen is just that.
 |
Verdict recommendations are ranked from best to worst as follows:
Highly Recommended
Recommended
Moderate Recommendation
Take A Pass
Avoid Like The Plague
JVC DLA-X30 Review
Boxlight Pro7501dp
Panasonic PT-AE4000U
Mitsubishi HC4000 Review
JVC DLA-HD250 Review
HC3800 vs 8100
JVC DLA-HD550
Boxlight Projectowrite2
Epson 8100 Review
Epson 8500UB
Boxlight MP65E
Home • Projector Brands • Video Projector Reviews • Projector Resources • Contact Us
Archive Table of Contents 1
Archive Table of Contents 2
© Copyright 2016 Avdeals 3senses. All Rights Reserved.