 |
; |
|
Highlights:
MSRP: $799.99 (USD) |
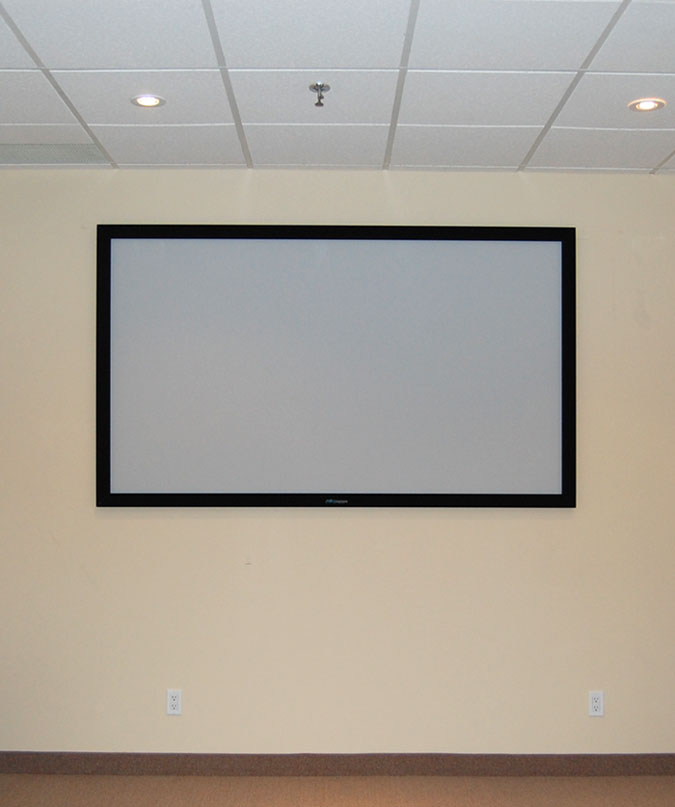
For those looking to enhance their home theater experience, the 92-inch light gray fixed screen from Studio Experience is a great way to start. Whether it’s a consumer-friendly price-point, an easy, do-it-yourself set-up, or straightforward quality of performance, Studio Experience by Boxlight delivers the goods on every level.
Packaging & Appearance
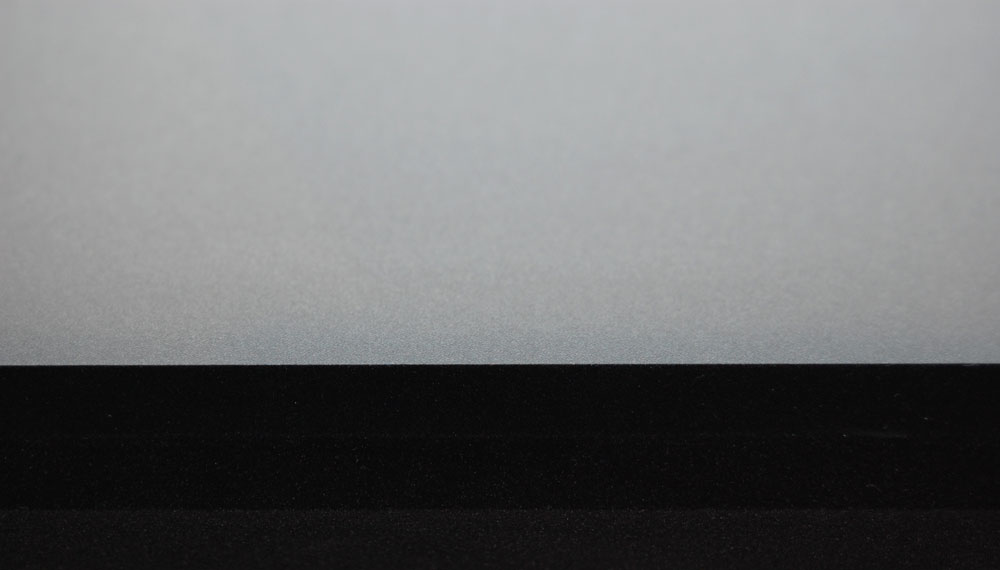
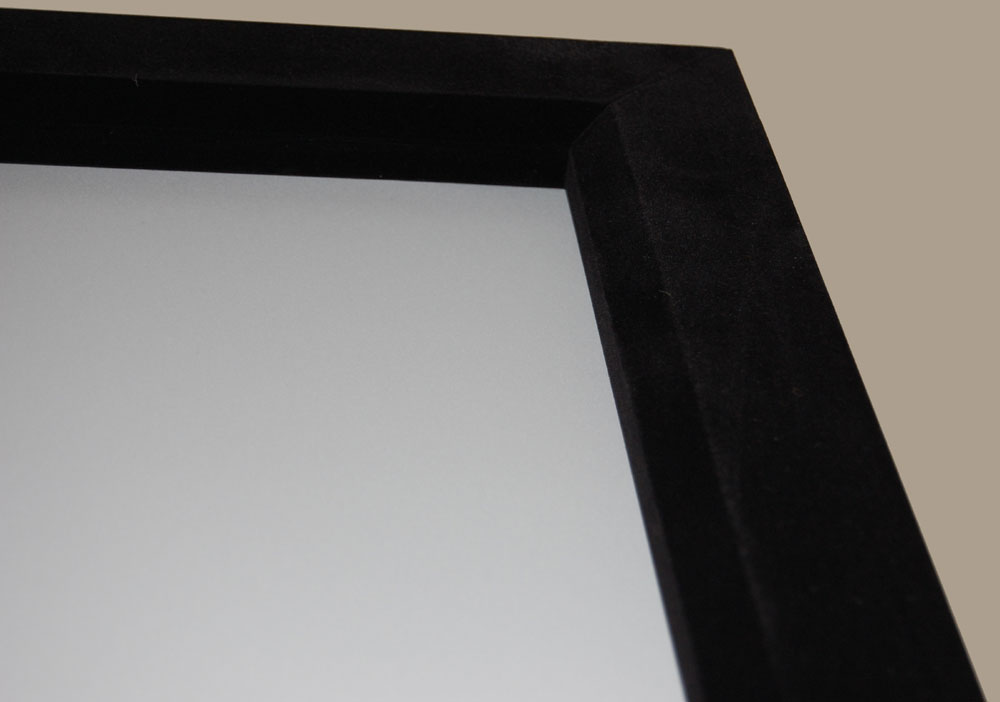
One simple, relatively lightweight rectangular box gives way to three smaller boxes. One of the boxes contains the upper and lower frames which measure 85 inches in length, and whose frame bezels are approximately 2.5 inches wide. The other box contains the side frames which measure 50 inches in length, with frame bezels that are also about 2.5 inches wide. The frames themselves are made of a light, yet solid and durable aluminum material that features a black Veltex finish, adding the optimal blend of style, and as we’ll discuss further down, performance-enhancing functionality. The third and final box contains the actual screen which is light gray in color, and in my humble estimations, makes for the best colored surface to watch and enjoy movies on. Throw in a 0.8 screen gain, and you’ve got yourself the makings of a screen that can deliver exceptional overall contrast, as well as rendering all the subtle, low-light level details with great care and precision.
In terms of all the pieces involved in the assembly, Studio Experience has done well to keep things at a minimum. Aside from your usual assortment of accessories that include screws, fixing lugs, tensions rods, L-brackets, and mounting brackets, the major pieces are kept to a modest number (5), which includes the upper and lower frames, the two side frames, and of course, the screen. As you may have already gathered from reading my earlier projection screen reviews, assembling things is by no means one of my strong suits, and while I’ve made some headway in that regard, I still prefer simplicity, and the 92-inch fixed projection screen from Studio Experience is about as simple as it gets.
Set-Up & Assembly
Assembly for the 92-inch fixed gray screen by Studio Experience can be divided into three separate groups, not including the final stage which involves the actual mounting of the fully assembled screen.
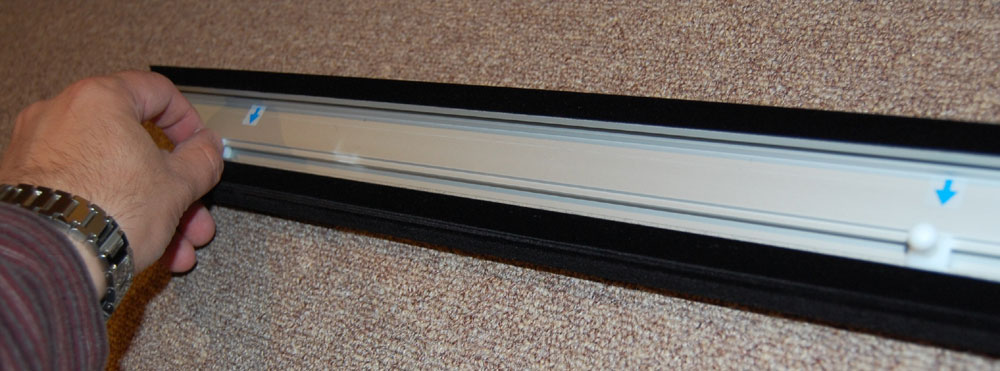
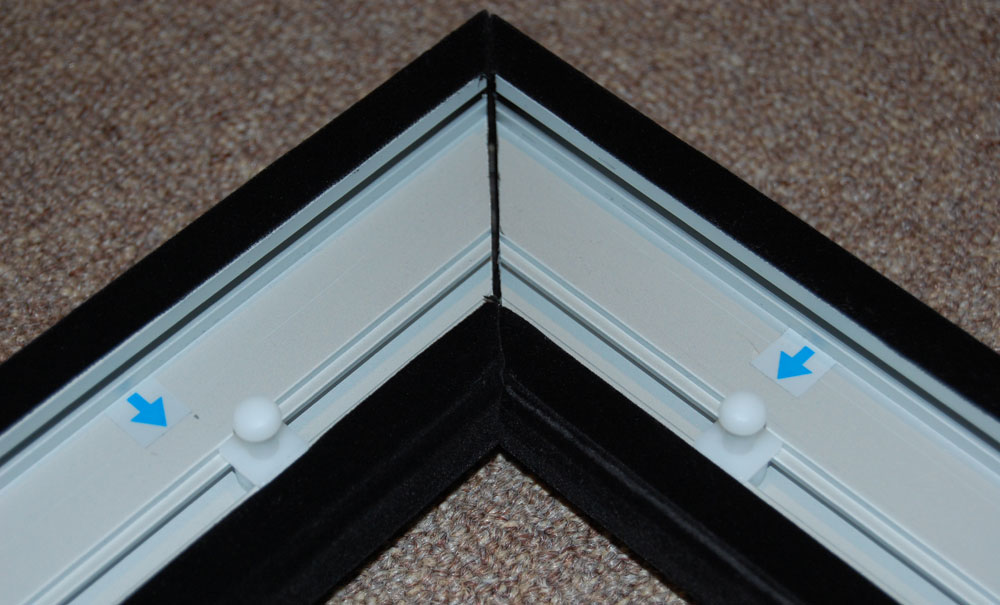
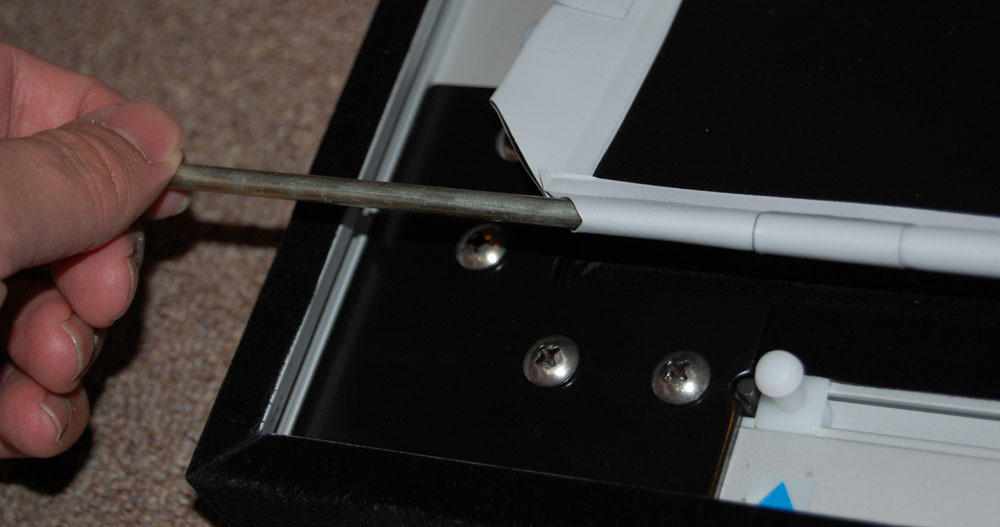
The first step is attaching the upper and lower, Veltex-finished, aluminum frames. The first part here involves sliding in the fixing lugs as per the arrow markers on the frames. The upper and lower frames each house seven fixing lugs, while the side frames house four each, making for a grand total of 22 fixings lugs, which, not so coincidentally, match the number of holed openings that line the screen where they will eventually connect.
With the fixing lugs in place, you then have the option to slide in the upper two mounting brackets solo, or in combination with the lower ones for added security. With the lightweight nature of the fully assembled projection screen however, assuming your walls aren’t made of paper or cardboard, you shouldn’t need to worry about having to attach the lower mounting brackets. After that, its time to attach the frames to each other via the L-brackets with corresponding strips nuts.
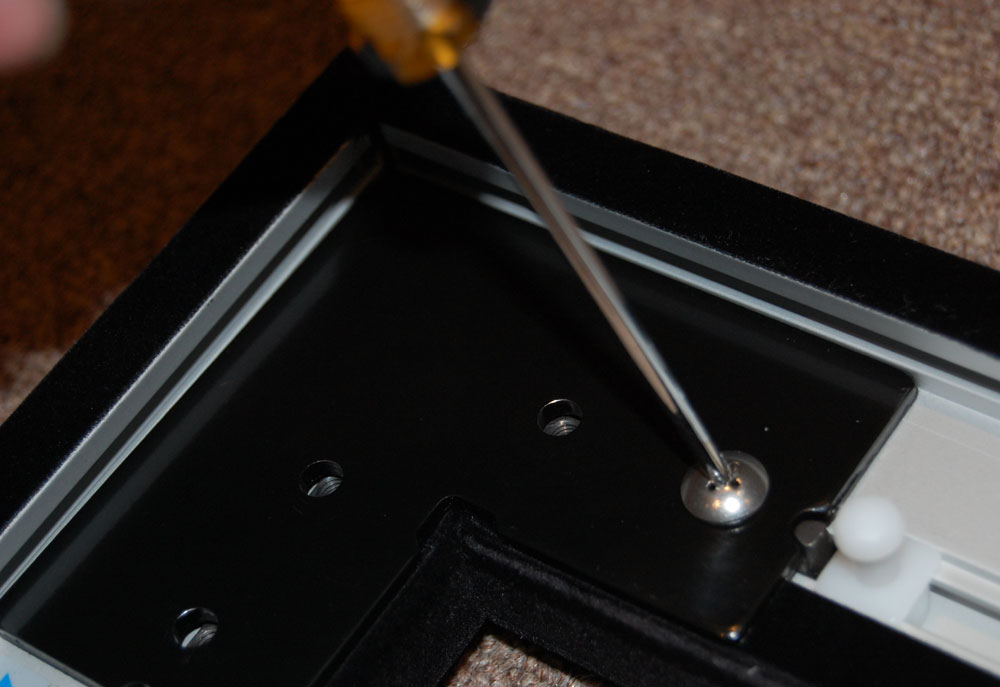 |
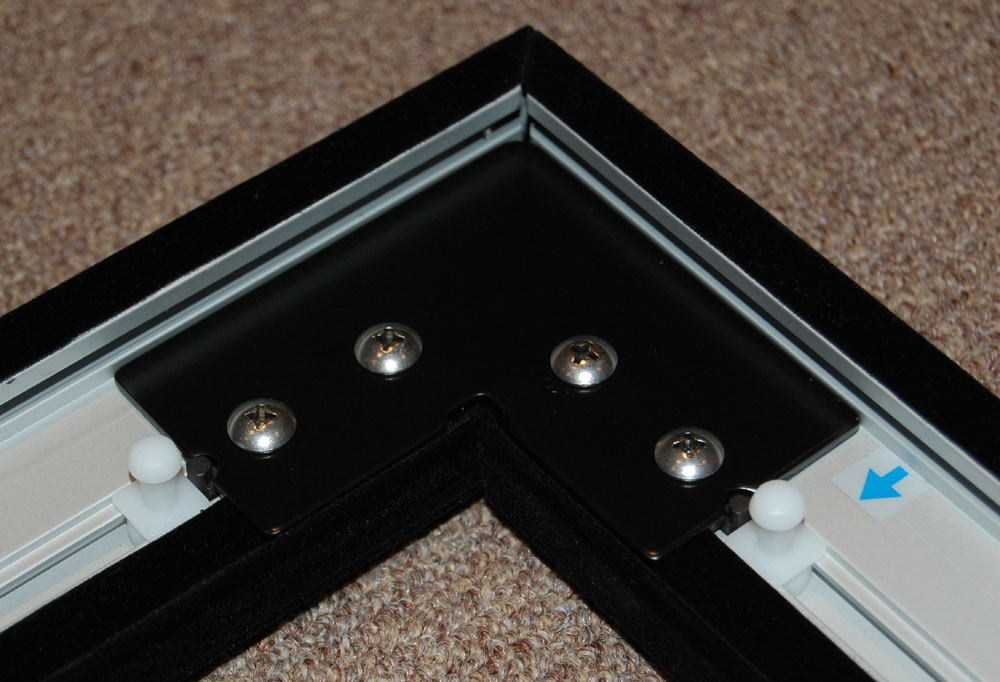 |
Once lined up and properly in place, just screw everything together and your frame is now attached.
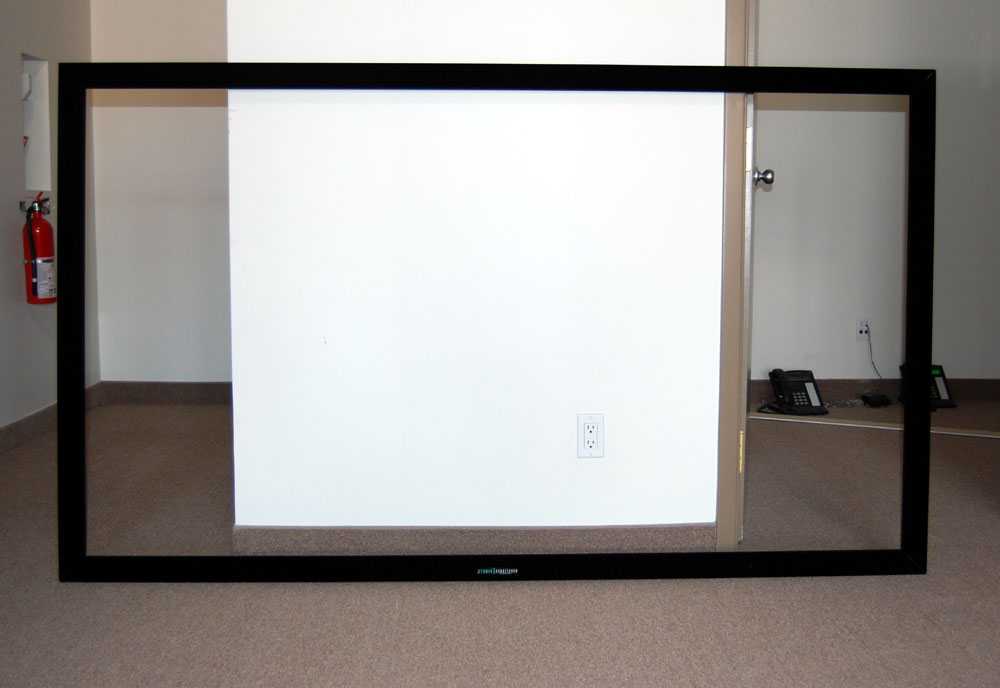
With the frame ready to go, I’d peg the total assembly time thus far to be around 20 or so minutes, a level of difficulty to be around a two on scale of one to ten, without the need for an extra set of helping hands. Next up is the second step in the screen assembly which involves preparing the screen.
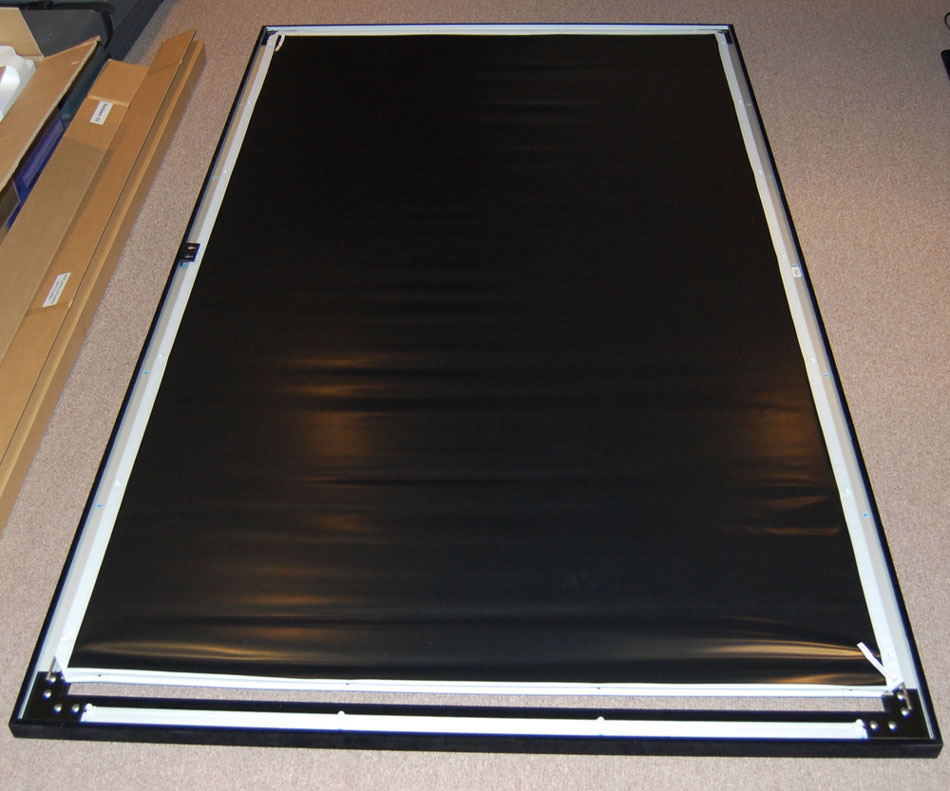
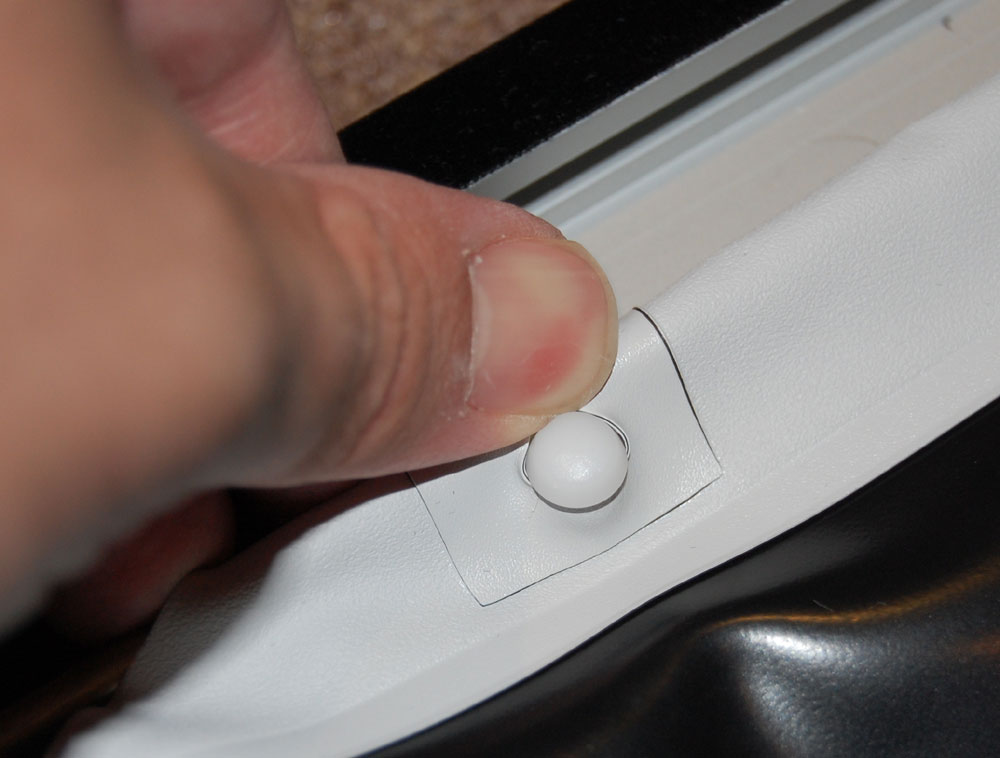
If the frame assembly registered a two on level of difficulty, the screen preparation would probably be a one, and it’s possibly even easier than that. Once you’ve carefully rolled the screen out onto a preferably clean, smooth surface, it’s now time to insert the four rods or tensions bars into the corresponding slits that are lined all around the screen surface. Insertion is quick and easy because the actual rods are made of a firm, solid, metal material that doesn’t bend or curl going in, thereby eliminating most of the friction you might otherwise encounter. And lest you forget or fall victim to a temporary but powerful brain cramp where all logic and common sense go out the window, the screen itself is labeled with a handy, if not painfully obvious sticker, informing you as to which side is which.
 |
 |
The screen preparation will take you all of five minutes, at which point you’re ready to connect the frame to the screen, thus completing the Studio Experience projection screen assembly, save for the mounting.
This screen-to-frame portion of the assembly will likely require the most from you physically, but this is by no mean an Olympic-style marathon event, but rather the equivalent to a brisk jog at the most. With the screen overlaid on the rear of the frame, it’s now time insert the screen, via the corresponding holes, over and into the fixing lugs we slid onto the frame earlier on. And don’t worry if things don’t line up perfectly as per the arrow markers on the frame (they won’t), because the fixing lugs will slide wherever you need them to be. This feature is quite the stroke of genius is you ask me. As per the instructions, it’s best to start up top and work your way around clockwise. While on the prior 92-inch fixed matte white projection screen from Studio Experience I needed some added muscle for the final two fixing lugs, I must’ve eaten my Wheaties this morning because I was able to tough this one out all by myself.
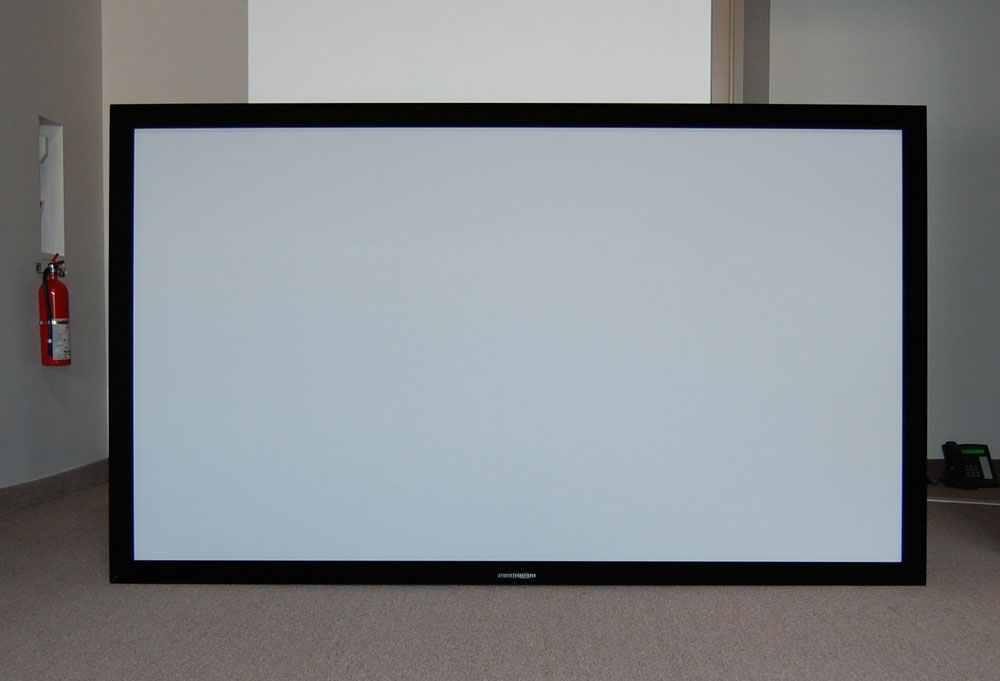
Now the screen assembly is complete, feel free to allow yourself a few moments to strand back and admire your handy work, and the 45 x 80 inch screen which affords you 92 diagonal inches of glorious viewing space. And because of the way the screen is designed to connect to the frame, unlike some screens that require at least one good night to settle into smooth, wrinkle-free goodness, the 92-inch fixed gray from Studio Experience is ready to go as soon as you’re done assembling it. And in terms of offering that tight-as-a-drum screen finish, this one by Studio Experience is one of the absolute best I’ve seen. It’s one thing to have a massive-sized screen with maximum aesthetic-value, but if the actual surface is loose, wrinkly, with even just a few creases, the viewing experience becomes greatly compromised, and this is clearly never a good thing.
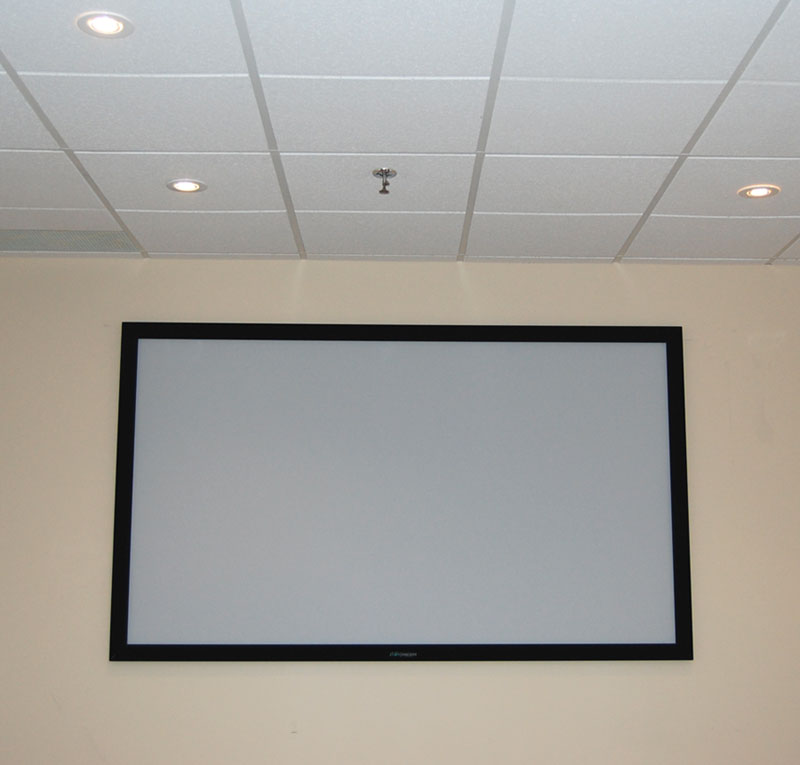
The last step in this assembly is the mounting of the screen. The instruction booklet offers all the requisite info you’ll need to know, presented in a clear, concise, and easy to understand fashion, and Studio Experience provides you with the required accessories you’ll need to get the job done.
Performance
Simple assembly, attractive pricing, and pleasing design are nothing without performance, and in this regard, the 92-inch fixed gray screen from Studio Experience manages to bat a thousand by going a perfect four for four.
For those who aren’t familiar with screen specs, this gray-colored projection screen from Studio Experience has a gain rating of 0.8. Simply put, gain is a measurement of the reflectivity from a screen surface as compared to (ratio of) a standard white board which is coated with either magnesium carbonate or titanium dioxide. In the case of our screen, it reflects 80% of the light from a whiteboard. While in many cases when dealing with consumer electronics, the higher the number, the better, when it comes to projection screens and a home theater environment, gray screens with a lower gain rating are usually the ideal combination to create a more dynamic viewing experience that offers a greater range of contrast and image detail, particularly in situations where source images are darker. In the case of the Studio Experience 92-inch fixed gray screen by Boxlight, that certainly proved to be the case.


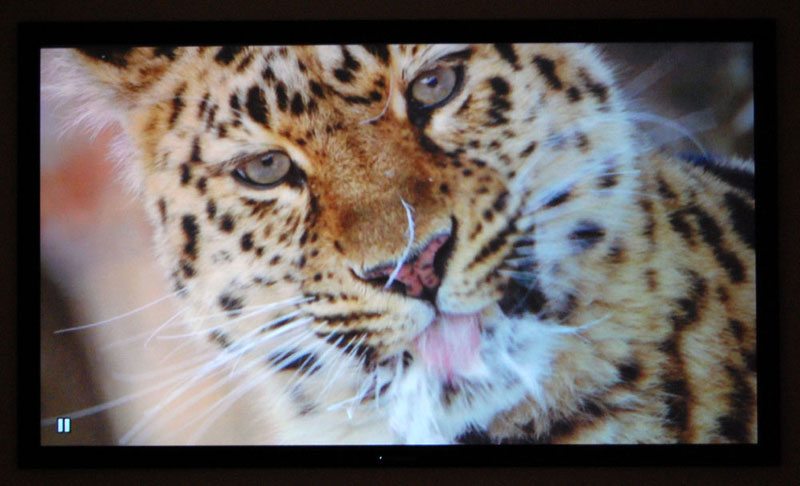
For testing purposes, I used an Epson 1080 projector connected to a Sony PS3 for HD playback, via a 1080p, HDMI connection. I used a trio of Blu-ray films for evaluation that included BBC’s Planet Earth, Pirates of the Caribbean: The Curse of the Black Pearl, and last, and certainly least, S.W.A.T. All three films provided an excellent mix of images that were dark, dim, and desaturated, along with bright, vivid, and sharp, and virtually all points in between. In every scenario thrown its way, this Studio Experience gray screen proved to be more than game. While I can’t say I was terribly surprised with how well it fared with the darker imagery and overall contrast detail (a gray screen with a low 0.8 gain rating is generally conducive to all of that), I will say that I was pleasantly surprised and pleased with the job it did with all the brighter stuff. While it was marginally lacking in the bright, vivid punch that you’d get with the standard white, higher gain-rated projection screens, it also replaced the more blown out, somewhat artificial feel to the images that you’d get with those screens, with a more richly detailed and textured image, creating a far more ideal balance between bright, natural images, and deep, rich details.
 |
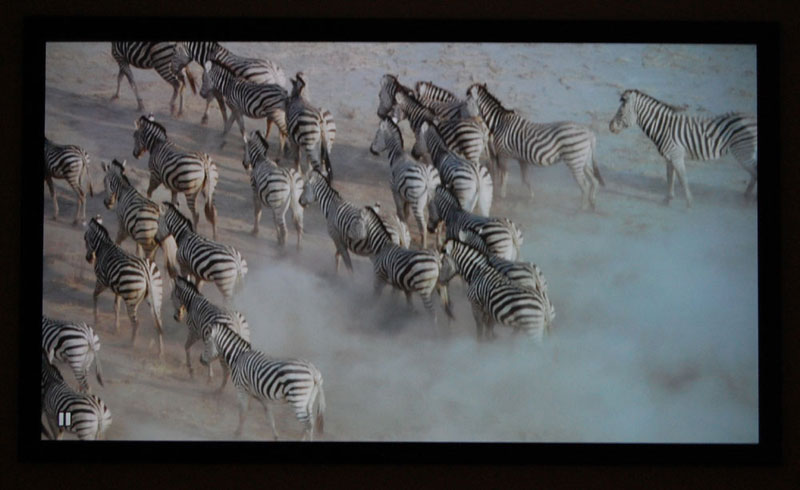 |
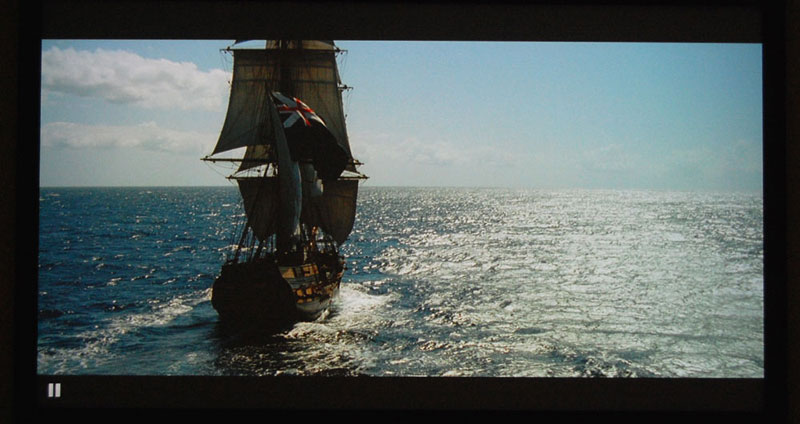
Image taken using a Nikon D40 with the Epson 1080 projector. |
Another point worth mentioning about the Studio Experience 92-inch gray screen is the Veltex frame finish which I touched on earlier. Aside from looking infinitely better than just a standard aluminum finish, it also helps to create that flawless home theater ambiance by completely vanishing into the background, and almost completely absorbing any projector spill light it may run into. This means that if you’re shooting even just a little off the mark, the Veltex frame material has got your back, allowing the image to show only where it should – on the screen.
Final Thoughts
You’ve got your HD projector to go along with your Blu-ray player and/or HD cable box, and you’ve even added a powerhouse, home audio system into the mix. Now all you need to complete the ultimate home theater experience is the projection screen, which is easily one of the most important, if not overlooked elements of any good home theater set-up. Enter the Studio Experience 92-inch fixed gray screen by Boxlight. Offering ease of set-up, a budget-conscious price-point, and most importantly, exceptional performance-value, this is the final piece to the puzzle that’s sure to take all of your viewing entertainment to the next level.
Verdict recommendations are ranked from best to worst as follows:
Highly Recommended
Recommended
Moderate Recommendation
Take A Pass
Avoid Like The Plague
JVC DLA-X30 Review
Boxlight Pro7501dp
Panasonic PT-AE4000U
Mitsubishi HC4000 Review
JVC DLA-HD250 Review
HC3800 vs 8100
JVC DLA-HD550
Boxlight Projectowrite2
Epson 8100 Review
Epson 8500UB
Boxlight MP65E
Home • Projector Brands • Video Projector Reviews • Projector Resources • Contact Us
Archive Table of Contents 1
Archive Table of Contents 2
© Copyright 2016 Avdeals 3senses. All Rights Reserved.